
How to Use Remove-InboxRule in Powershell

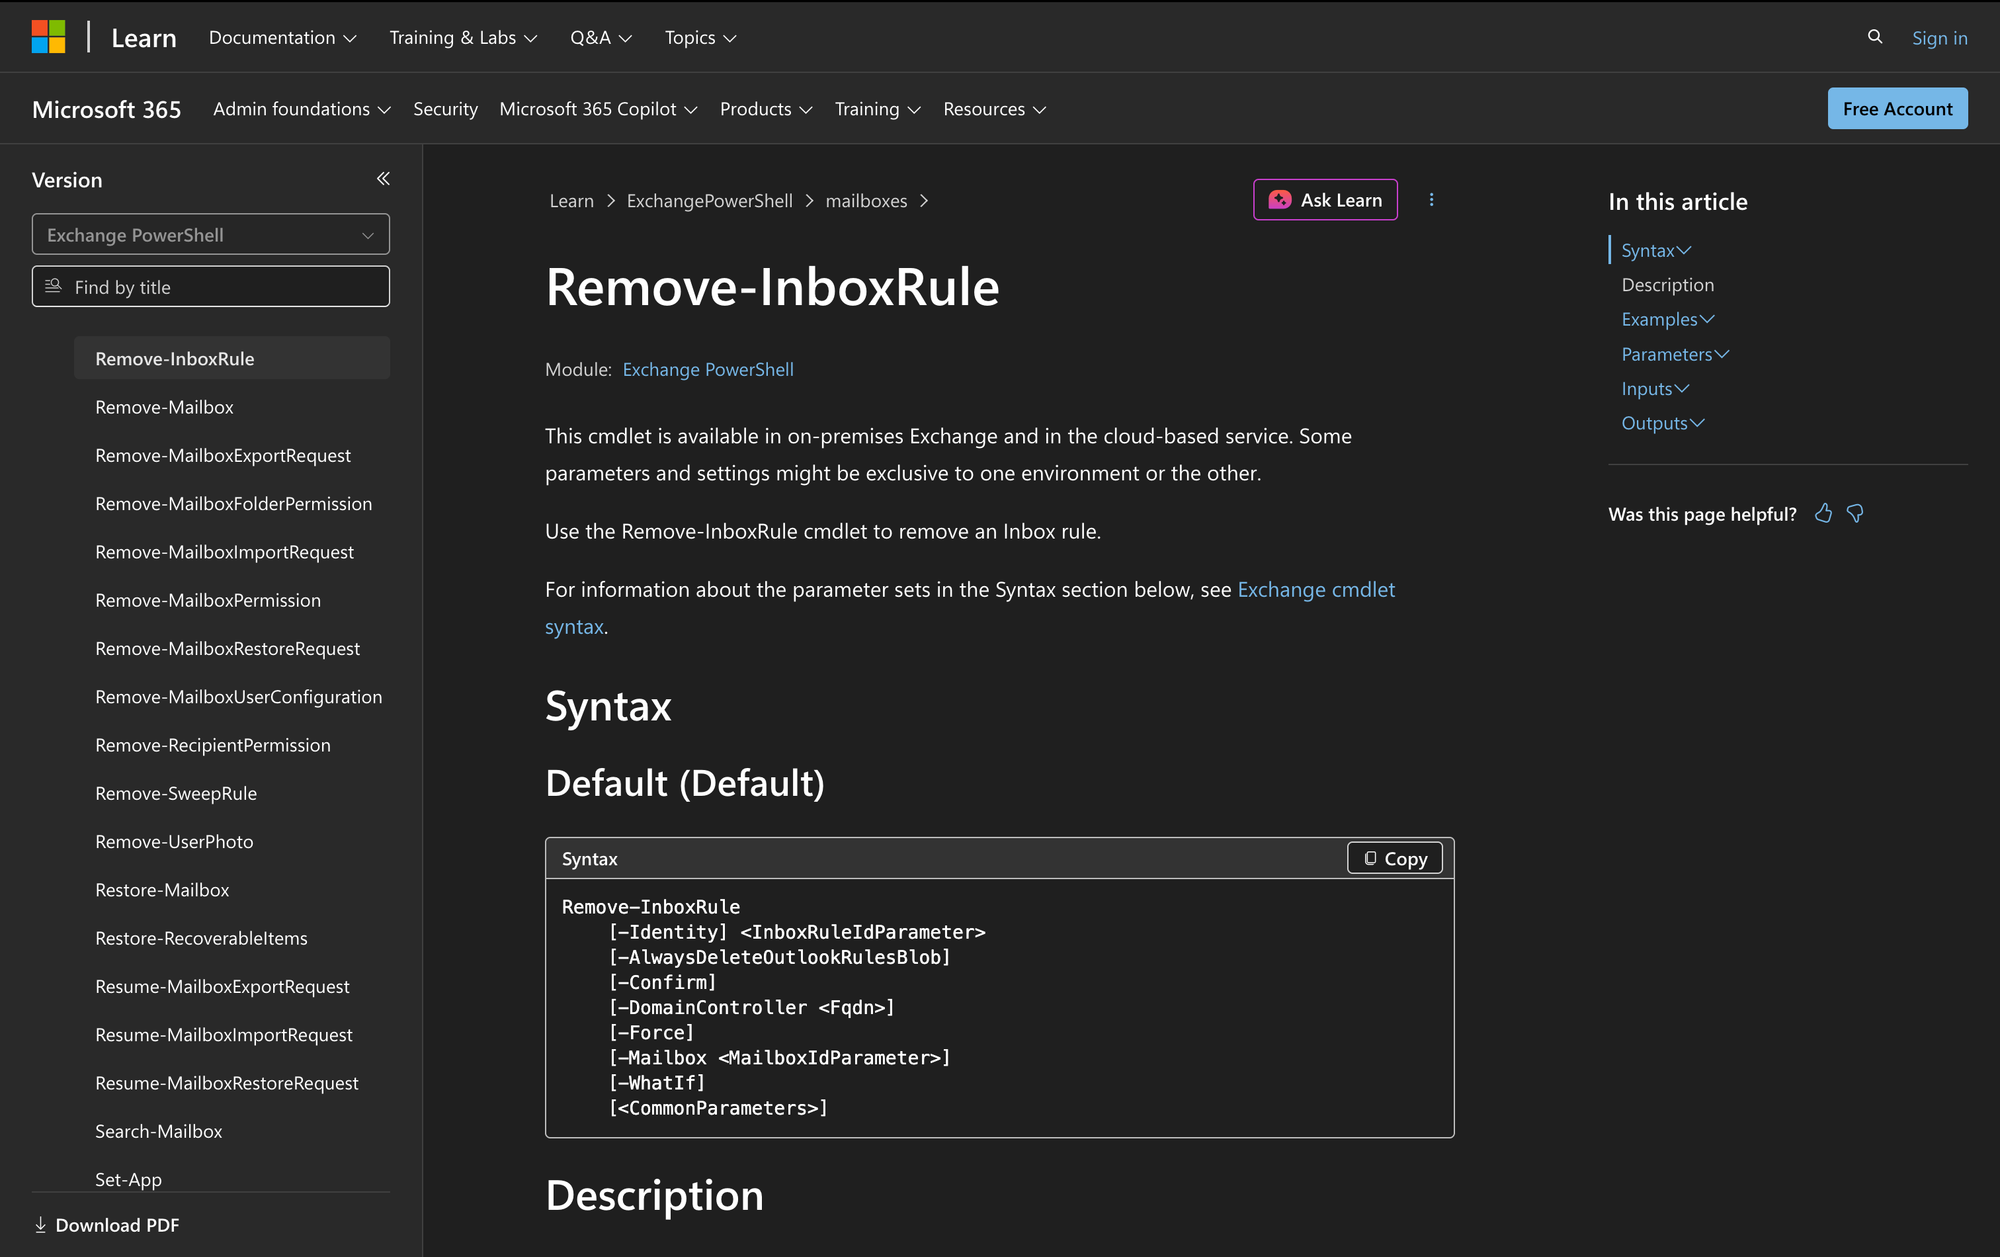
Managing mailbox rules is a routine part of Exchange administration. Over time, users create rules to move, redirect, or process incoming messages, and admins may need to step in when those rules are no longer wanted. In some cases, a single rule needs to be removed. In others, all rules in a mailbox need to be cleared out.
The Remove-InboxRule cmdlet is available in both Exchange Online and on-premises Exchange, which makes it relevant whether you work in Microsoft 365 or a local Exchange environment. Before deleting anything, it often helps to review the current rule list first, and a good starting point is this guide on how to view existing Inbox rules with Get-InboxRule.
One important detail from Microsoft’s documentation is easy to overlook: when you create, modify, remove, enable, or disable an Inbox rule in Exchange PowerShell, any client-side rules created by Microsoft Outlook are removed. That makes this cmdlet useful, but it also means admins should be deliberate before using it.
What is the Remove-InboxRule Cmdlet?
The Remove-InboxRule cmdlet is used to remove an Inbox rule from a mailbox. Microsoft documents this cmdlet as available in the cloud-based service and in on-premises Exchange, although some parameters and settings can be environment-specific.
An Inbox rule is identified with the Identity parameter, which is mandatory. You can also specify the mailbox that contains the rule by using the Mailbox parameter. The Identity parameter accepts pipeline input by value and by property name, which allows you to send the output of another command into Remove-InboxRule. Microsoft’s own example shows this approach by piping Get-InboxRule results into Remove-InboxRule to delete all rules from a mailbox.
A very important behavior documented by Microsoft is that Outlook client-side rules are removed when you create, modify, remove, enable, or disable an Inbox rule in Exchange PowerShell. The documentation also notes that a confirmation prompt warns you if the mailbox contains rules created by Outlook, because those client-side rules are removed by the action of this cmdlet.
Syntax
Remove-InboxRule
[-Identity] <InboxRuleIdParameter>
[-AlwaysDeleteOutlookRulesBlob]
[-Confirm]
[-DomainController <Fqdn>]
[-Force]
[-Mailbox <MailboxIdParameter>]
[-WhatIf]
[<CommonParameters>]
Parameters
- Identity - Specifies the Inbox rule that you want to remove. This parameter is mandatory and accepts pipeline input by value and by property name. You can use any value that uniquely identifies the rule, including the rule name, the RuleIdentity property, MailboxAlias\RuleIdentity in Exchange Online, or MailboxCanonicalName\RuleIdentity in on-premises Exchange.
- AlwaysDeleteOutlookRulesBlob - Hides a warning message when you use Outlook on the web or Exchange PowerShell to modify Inbox rules.
- Confirm - Specifies whether to show or hide the confirmation prompt.
- DomainController - Specifies the domain controller used by the cmdlet to read data from or write data to Active Directory. This parameter is available only in on-premises Exchange.
- Force - Hides warning or confirmation messages.
- Mailbox - Specifies the mailbox that contains the Inbox rule.
- WhatIf - Shows what the command does without making any changes.
- CommonParameters - Supports standard PowerShell parameters such as Verbose, Debug, ErrorAction, WarningAction, and others listed by Microsoft.
Practical Uses
1. Removing a single outdated rule from a user mailbox
A common admin task is deleting one rule that is no longer needed. For example, James may have created a rule that moved project emails into a folder, but that workflow has changed and the rule now causes confusion. In that case, removing only that specific rule is cleaner than touching the rest of the mailbox configuration.
This is where Remove-InboxRule fits well. You can target a single rule by identity and point the command at the correct mailbox. That gives admins a direct way to handle one-off cleanup tasks without affecting other rules the user still relies on.
2. Clearing all Inbox rules from a mailbox
Sometimes the issue is broader than one rule. A mailbox can accumulate multiple rules over time, and troubleshooting becomes easier if all of them are removed at once. Microsoft includes an example of piping Get-InboxRule into Remove-InboxRule to remove all rules from a mailbox.
This approach is useful when rules have become difficult to sort through or when an admin wants to reset rule behavior entirely. It is also a practical option when you need to remove several entries without deleting them one by one.
3. Previewing rule removal before making changes
In some environments, admins want to confirm the impact of a command before running it live. Microsoft documents the WhatIf switch for this purpose. With WhatIf, the command shows what it would do without making changes.
That makes it a good fit when working on a mailbox owned by another user, a shared mailbox, or any mailbox where rule deletion needs an extra review step. It gives you a safe way to validate your command line before the actual removal happens.
Prerequisites
Before using Remove-InboxRule, the following requirements apply based on Microsoft documentation:
- You need to be assigned permissions before you can run this cmdlet.
- Some parameters might not be available to you if they aren’t included in the permissions assigned to you.
- The cmdlet is available in Exchange Online and on-premises Exchange.
- The DomainController parameter is available only in on-premises Exchange.
- You should understand that when you create, modify, remove, enable, or disable an Inbox rule in Exchange PowerShell, any client-side rules created by Microsoft Outlook are removed.
How to Use Remove-InboxRule: 7 Practical Uses
The examples below show common ways admins use Remove-InboxRule in real Exchange environments. These examples stay within Microsoft’s documented parameters, and they highlight when to remove one rule, when to remove many, and when to suppress prompts or preview the action first.
1. Remove a specific Inbox rule from a mailbox
Command:
Remove-InboxRule -Mailbox james@meetingroom365.com -Identity "ProjectA-MoveToFolderA"
This is the most direct use of the cmdlet. It removes the Inbox rule named ProjectA-MoveToFolderA from James’s mailbox. Microsoft provides this pattern in its documentation using a mailbox and a rule identity together.
This approach is useful when you already know the exact rule that needs to go. Instead of reviewing every rule or deleting multiple entries, you can target just the one causing the problem.
It also helps reduce the chance of removing unrelated rules. If James has several Inbox Rules that still matter to his daily work, deleting only the named rule keeps the rest of the mailbox behavior intact.
2. Remove all Inbox rules from a mailbox by using pipeline input
Command:
Get-InboxRule -Mailbox james@meetingroom365.com | Remove-InboxRule
Microsoft includes this example to remove all Inbox rules from a mailbox. The command first retrieves the rules from James’s mailbox and then passes them through the pipeline to Remove-InboxRule.
This is a practical option when a mailbox has many rules and you want a clean reset. It avoids having to identify and delete each rule individually.
It is also a good reminder that Identity accepts pipeline input by value and by property name. That makes bulk rule removal straightforward when the mailbox needs a full cleanup rather than one specific change.
3. Preview the removal of a specific rule with WhatIf
Command:
Remove-InboxRule -Mailbox james@meetingroom365.com -Identity "ProjectA-MoveToFolderA" -WhatIf
The WhatIf switch shows what the command does without making any changes. Microsoft documents this switch specifically for previewing the action of the command.
This is useful if you want to confirm that you are targeting the right mailbox and the right rule before deletion. In admin work, that extra check can save time and avoid accidental changes.
It also helps when you are documenting a change or reviewing the command with another admin before proceeding. You get visibility into the intended action without actually removing the rule.
4. Remove a rule without the confirmation prompt
Command:
Remove-InboxRule -Mailbox james@meetingroom365.com -Identity "ProjectA-MoveToFolderA" -Confirm:$false
Microsoft explains that destructive cmdlets such as Remove-* cmdlets have a built-in pause that forces you to acknowledge the command before proceeding. To skip that confirmation prompt, Microsoft documents the exact syntax -Confirm:$false.
This is helpful in scripted or repetitive administrative work where the confirmation prompt would interrupt the process. If you already validated the mailbox and rule identity, suppressing the prompt can make the task more efficient.
That said, this syntax should be used carefully. Since the cmdlet deletes a rule, skipping the prompt removes one final opportunity to catch a mistake before the action completes.
5. Hide warning or confirmation messages with Force
Command:
Remove-InboxRule -Mailbox james@meetingroom365.com -Identity "ProjectA-MoveToFolderA" -Force
The Force switch hides warning or confirmation messages. Microsoft also notes that a confirmation prompt warns you if the mailbox contains rules created by Outlook, because any client-side rules are removed by the actions of this cmdlet.
This makes Force relevant when you are intentionally removing a rule and do not want the additional prompts during the process. In larger admin sessions, that can simplify repeated actions across mailboxes.
It is especially important to understand the Outlook-related warning here. If the mailbox contains client-side rules, the action can affect those rules as documented by Microsoft, so the lack of prompts should never replace proper review beforehand.
6. Hide the Outlook warning message with AlwaysDeleteOutlookRulesBlob
Command:
Remove-InboxRule -Mailbox simon@meetingroom365.com -Identity "MoveReports" -AlwaysDeleteOutlookRulesBlob
The AlwaysDeleteOutlookRulesBlob switch hides a warning message when you use Outlook on the web or Exchange PowerShell to modify Inbox rules. Microsoft documents this parameter for Exchange Server 2010, Exchange Server 2013, Exchange Server 2016, Exchange Server 2019, Exchange Server SE, and Exchange Online.
This can be useful when you already understand the Outlook rule impact and want to suppress that warning message during the removal. In Simon’s mailbox, for example, you might already know the rule history and want the command to run without that extra warning.
Because Microsoft explicitly ties this switch to the Outlook warning, it should be used only when that behavior is already understood. It does not change the documented effect on client-side rules. It only hides the warning message.
7. Use DomainController in on-premises Exchange
Command:
Remove-InboxRule -Mailbox james@meetingroom365.com -Identity "ProjectA-MoveToFolderA" -DomainController dc01.contoso.com
The DomainController parameter is available only in on-premises Exchange. Microsoft states that it specifies the domain controller used by the cmdlet to read data from or write data to Active Directory, and you identify it by fully qualified domain name.
This example is relevant when you administer Exchange Server and want to direct the cmdlet to a specific domain controller. That can matter in environments where admins intentionally choose the server handling the Active Directory operation.
It is not a parameter for Exchange Online, so this example applies only to on-premises deployments. If you work in Microsoft 365, you would simply omit this parameter.
Final Note
The Remove-InboxRule cmdlet gives Exchange admins a direct way to delete one Inbox rule or remove all rules from a mailbox. The main point to remember is Microsoft’s documented warning that changes to Inbox rules in Exchange PowerShell remove client-side rules created by Outlook, so review the mailbox and command carefully before proceeding.