How to use Set-MailboxPlan in Powershell

The Set-MailboxPlan cmdlet in Exchange Online and Exchange Server is a versatile tool for managing mailbox configurations at scale. With this command, admins can modify properties like storage quotas, message size limits, and retention settings for mailbox plans that are templates applied to new user mailboxes.
Whether you're setting up mailboxes for a small team or an entire domain, this cmdlet helps maintain efficiency and compliance in your environment. Let’s learn how to use it!
What is the Set-Mailbox Cmdlet in PowerShell?
The Set-MailboxPlan cmdlet is a tool used in Exchange Online to customize the settings of mailbox plans, which are templates tied to user licenses. These plans define default properties for new mailboxes, such as quotas, retention policies and message size limits.
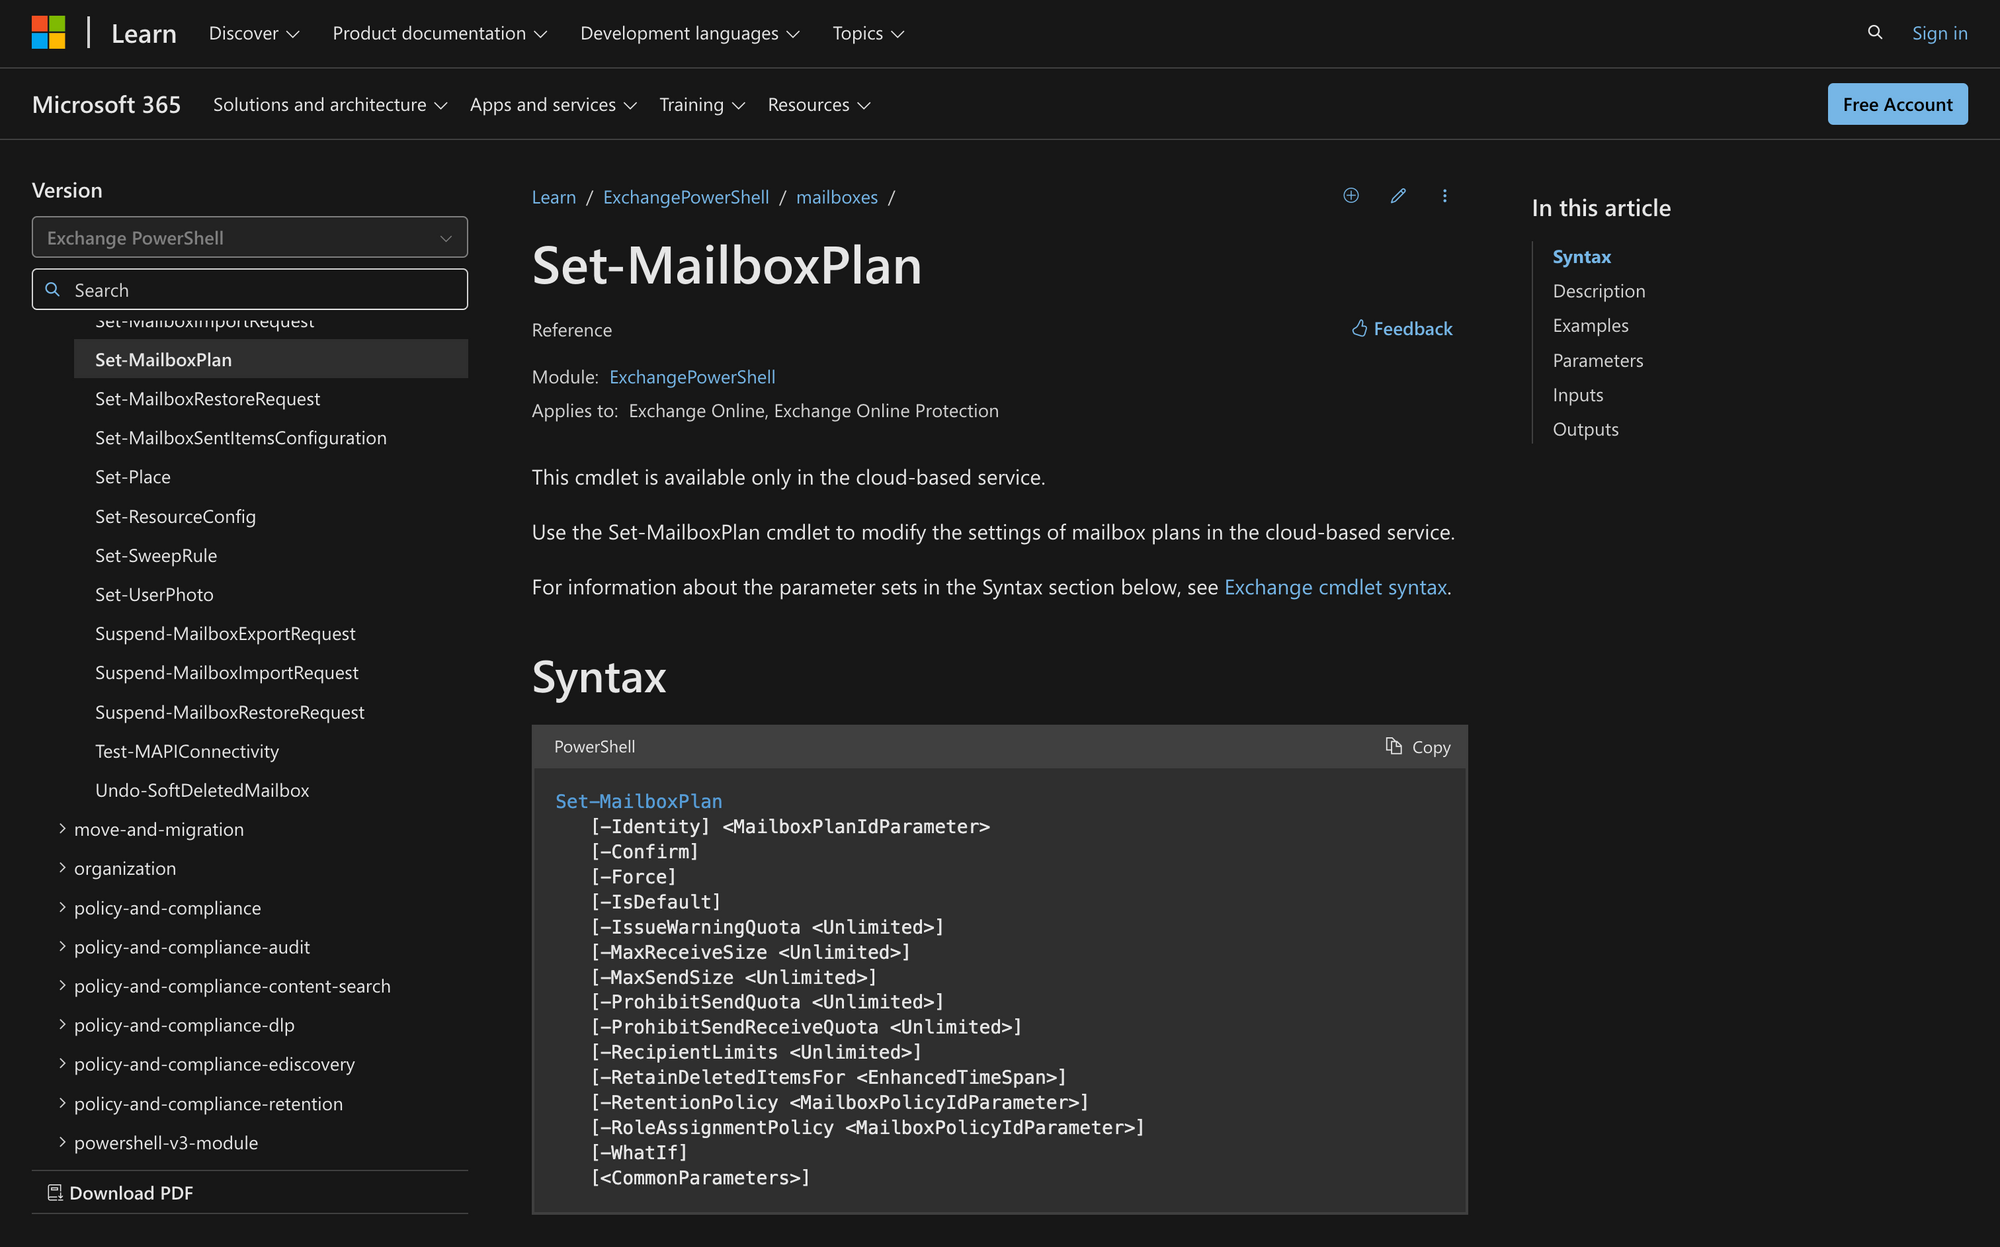
Here’s the syntax of Set-MailboxPlan in PowerShell:
What Can You Use Set-MailboxPlan For in PowerShell?
There are different things you can do with Set-MailboxPlan, including these:
- Modify Mailbox Quotas and Limits: Use the Set-MailboxPlan cmdlet to adjust storage settings for mailboxes created under a specific plan. For instance, you can set a warning threshold (IssueWarningQuota), limit how much data users can send (ProhibitSendQuota), and cap the mailbox size altogether (ProhibitSendReceiveQuota).
- Customize Retention Policies: You can specify the retention policy that applies to new mailboxes by modifying a mailbox plan. Retention policies define how long emails or other items are retained and when they should be moved or deleted.
- Assign Role Assignment Policies: Role assignment policies determine what permissions users have for managing their mailboxes, such as enabling forwarding or creating inbox rules. The Set-MailboxPlan cmdlet allows you to configure new mailboxes with the correct role assignment policy, ensuring organizational control.
Prerequisites to Use Set-MailboxPlan in PowerShell
To use the Set-MailboxPlan cmdlet, there are specific prerequisites and considerations you need to keep in mind:
- Permissions: You need to have the appropriate administrative permissions to execute this cmdlet. Not all parameters might be available to you, depending on the roles and permissions assigned in your Exchange Online organization. To identify which permissions you need, refer to the “Find the permissions required to run any Exchange cmdlet” guide provided by Microsoft.
- Applicability: This cmdlet is available exclusively in the cloud-based service, meaning it applies to Exchange Online and Exchange Online Protection. It can’t be used in on-premises Exchange environments, so keep this in mind before proceeding.
- Impact on Existing Mailboxes: Modifying the mailbox properties does not affect existing mailboxes that were created using that plan. Changes apply only to mailboxes created or enabled after the plan is updated. To apply updated settings to an existing mailbox, you would need to assign a different license that includes the desired mailbox plan.
- Client Access Services: Each mailbox plan corresponds to a Client Access Services (CAS) mailbox plan. If you need to modify access protocols like POP3, IMAP4 or Exchange ActiveSync (EAS), or set policies for Outlook on the Web, these configurations need to be handled separately using the Set-CasMailboxPlan cmdlet.
- Retention and Network Impact: If you use this cmdlet to modify retention policies, be cautious of potential network strain when applying changes to a large number of mailboxes. Altering the default retention policy could trigger updates across hundreds or thousands of mailboxes, depending on your organization’s size.
How to Use Set-MailboxPlan in 3 Easy Steps
Now, let’s go through 3 quick steps to efficiently use the Set-MailboxPlan command in PowerShell.
Step 1: Identify and Review the Target Mailbox Plans
Before making any changes, it’s important to understand which mailbox plan you intend to modify. Start by listing all available mailbox plans in your Exchange Online environment using the Get-MailboxPlan command like this:
This command will return details about all the plans, including their names and key settings. For example, you might see a "DefaultMailboxPlan" associated with meetingroom365.com. Once identified, dig deeper to inspect the current configurations of that plan:
This allows you to understand existing quotas, retention policies or other settings that you may want to customize.
Step 2: Modify the Mailbox Plan Settings Using Set-MailboxPlan
Once you’ve reviewed the current settings, use the Set-MailboxPlan cmdlet to make the necessary changes. For example, let’s say the current plan sets the ProhibitSendQuota to 25GB, but your organization requires a larger quota. You can update it with the following command:
In this case, the new settings ensure users on this plan will receive warnings when their mailbox reaches 48GB, can no longer send emails at 50GB and are fully restricted at 55GB.
Also, you can adjust other parameters, like the maximum message size or retention policies, to meet specific business requirements for the domain meetingroom365.com.
Step 3: Validate the Changes
After applying modifications, we recommend confirming that the updates have been successfully implemented. Re-run the Get-MailboxPlan cmdlet to verify the updated values like this:
This step ensures there are no discrepancies between the intended and applied settings. For instance, if you intended to set the ProhibitSendQuota to 50GB but found it still reflecting 25GB, it may indicate an issue requiring further troubleshooting.
Using the Set-MailboxPlan cmdlet with admin roles streamlines managing mailbox settings. It’s a practical way to apply consistent policies and storage limits across users, keeping your email environment organized and aligned with your organization’s needs.