How to Use New-MailboxImportRequest in Powershell

Streamlining your mailbox migrations with ease in PowerShell isn't always straightforward unless you know how to leverage PowerShell cmdlets.
If you need to initiate mailbox data import, then let's learn how to use New-MailboxImportRequest in PowerShell by following four easy steps.
What is the New-MailboxImportRequest Cmdlet?
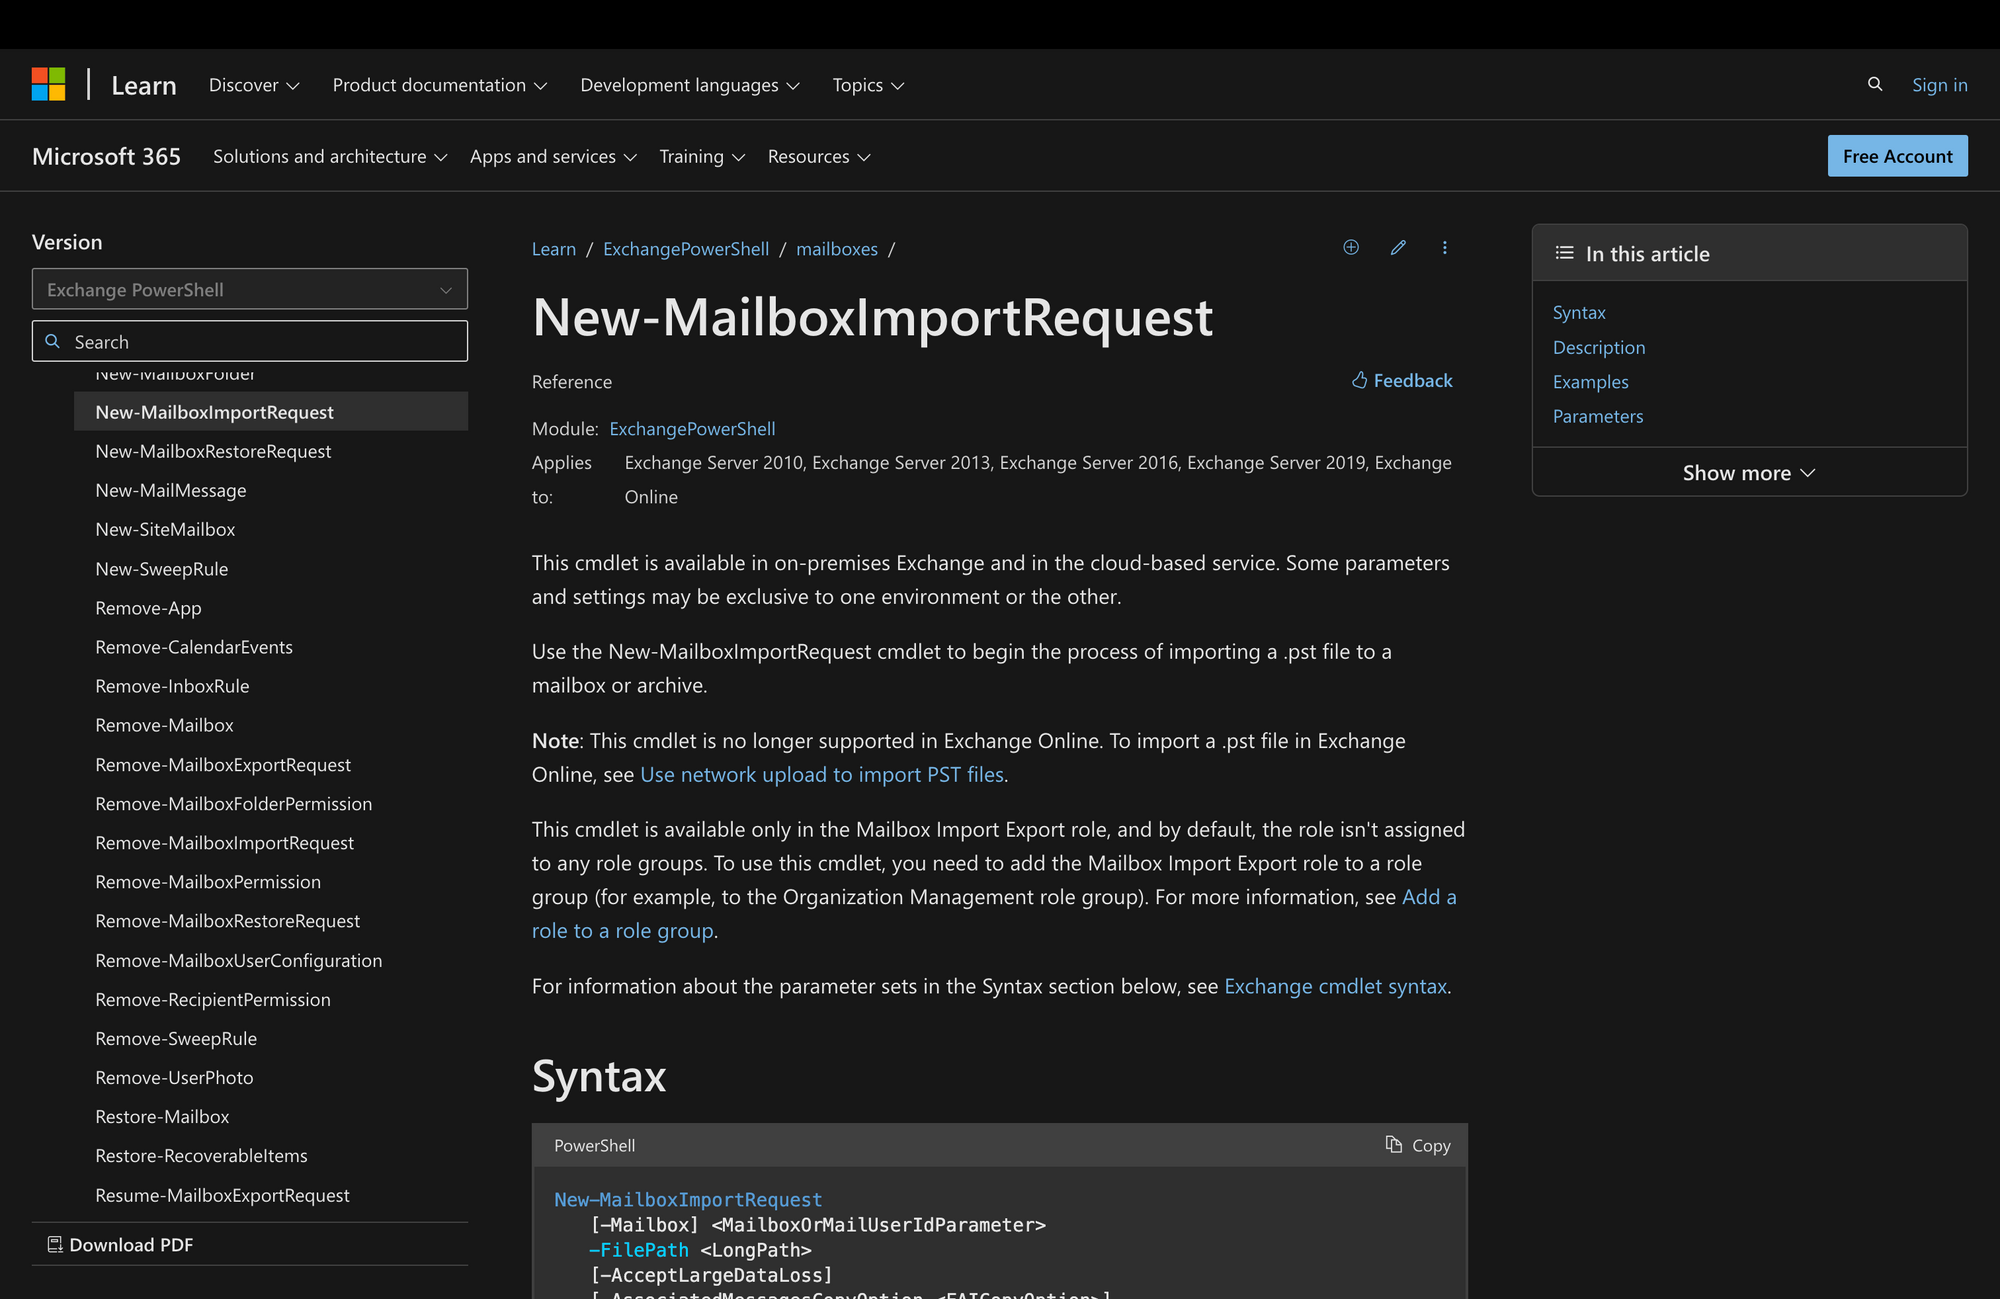
The New-MailboxImportRequest cmdlet is a fundamental tool within Microsoft Exchange Server environments, used through PowerShell.
Its primary function revolves around the process of importing mailbox data from external sources, such as a complete PST file or CSV file, into user mailboxes residing within the Exchange Server infrastructure.
When used, this cmdlet requires several parameters to be specified. Among these, the -FilePath parameter indicates the location of the source file containing the data to be imported. This file is typically in .pst format, which is a standard for storing Outlook mailbox data.
The syntax of the New-MailboxImportRequest cmdlet is the following:
New-MailboxImportRequest vs. New-MailboxExportRequest Command
The New-MailboxImportRequest and New-MailboxExportRequest commands are different PowerShell cmdlets used within Microsoft Exchange Server environments, serving different purposes and functionalities.
New-MailboxImportRequest is used to import mailbox data from a .pst file into an Exchange Server mailbox, whereas New-MailboxExportRequest serves the purpose of exporting mailbox data from an Exchange mailbox to a .pst file, typically residing on the local file system.
Here, we can see a quick overview of the differences and similarities between these two relevant PowerShell cmdlets:
What Can You Use The New-MailboxImportRequest PowerShell Command For?
Although, at first, the New-MailboxImportRequest cmdlet might sound like a simple command, the reality is that it serves various purposes, such as the following:
- Mailbox Migrations: When transitioning users from one Exchange environment to another (e.g., from an on-premises server to Office 365), administrators can use New-MailboxImportRequest to seamlessly migrate mailbox data, ensuring minimal disruption to users' workflows.
- User Data Recovery: In the event of accidental deletion or corruption of mailbox data, administrators can leverage New-MailboxImportRequest to recover lost or damaged items from backup .pst files, restoring them to the user's mailbox.
- User Onboarding: When onboarding new users or integrating acquired companies, administrators can use New-MailboxImportRequest to import mailbox data from previous email systems or .pst backups into Exchange mailboxes, ensuring that users have access to their historical emails and other items.
- Compliance and Legal Requirements: Organizations often need to retain email communications for compliance and legal purposes. With New-MailboxImportRequest, administrators can import historical email data into Exchange mailboxes, ensuring that organizations comply with regulatory requirements and are equipped for legal inquiries or audits.
- Archiving and Data Management: As part of email archiving strategies, administrators can use New-MailboxImportRequest to import older emails and other items from .pst files into archive mailboxes, helping manage mailbox sizes and ensuring that critical historical data remains accessible for users.
Prerequisites to Run New Mailbox Import Requests in PowerShell
Before running this cmdlet, it's important to comply with the following prerequisites:
- Permissions: Before executing the cmdlet, ensure that you have the necessary permissions to perform mailbox imports. This requires membership in the Exchange Server's "Mailbox Import Export" role group or equivalent permissions granted through role-based access control (RBAC). For example, to import PST files from the share, you will need Read Permissions, whereas to save exported PST files to the share, you will need Read/Write Permissions.
- Exchange Server Version Compatibility: It's also important to make sure that the version of Exchange Server being used supports the New-MailboxImportRequest cmdlet. Different versions of Exchange may have varying requirements and capabilities regarding mailbox import operations.
- Access to .pst Files: If importing data from .pst files, ensure that the .pst files are accessible from the system where the PowerShell cmdlet will be executed. This may involve copying .pst files to a location accessible by the Exchange Server or ensuring appropriate network file share access if .pst files are stored remotely.
- Correct Syntax and Parameters: Lastly, try to familiarize yourself with the correct syntax and parameters of the New-MailboxImportRequest cmdlet. Incorrect usage of parameters or syntax can lead to error messages or unexpected behavior during the import process, which we certainly want to avoid.
How to Use New-MailboxImportRequest in Powershell
Now that you know the nuances of the New-MailboxImportRequest command, it's time to learn how to use it.
Step 1: Connect to Exchange Online PowerShell
Launch PowerShell, and on the command box, run the following command:
Connect-ExchangeOnline -UserPrincipalName youremail@meetingroom365.com
Use your Microsoft credentials to log into your organization's environment, ensuring that you have all the necessary permissions to run the command.
Step 2: Run the Get-MailboxImportRequest Cmdlet Before Proceeding
Although this step is not completely necessary, we highly suggest you run the Get-MailboxImportRequest cmdlet before moving on.
The primary purpose of this command is to retrieve information about mailbox import requests initiated using the New-MailboxImportRequest cmdlet or through other means within the Exchange environment.
This gives you detailed information about the status, progress, and other relevant attributes of mailbox import requests, preventing potential errors.
Step 3: Prepare the .pst File and Run the Cmdlet
Now, ensure that the .pst file containing the mailbox data to import is accessible. If the .pst file is stored locally, note its file path.
Then, prepare to run the command - execute the New-MailboxImportRequest cmdlet, specifying the required parameters, as shown in the following example:
The output of this cmdlet imports a .pst file into James's archive folder. However, keep in mind that the TargetRootFolder isn't specified here.
Another example is the following:
In this case, this specific example imports a recovered .pst file on MEETINGROOM into the user Simon's primary mailbox.
Step 4: Monitor the Import Process and Verify Completion
Once the cmdlet is executed, Exchange Server initiates the import process. After the import process is complete, verify that the mailbox data has been successfully imported into the target mailbox.
You can do this by accessing the target mailbox through Outlook or using Exchange Management Shell cmdlets to view mailbox content.
Wrapping Up: Using the New-MailboxImportRequest Cmdlet
Understanding how to use the New-MailboxImportRequest cmdlet in PowerShell can greatly simplify mailbox migrations in Exchange Server environments.
By following the simple steps outlined in this guide, you'll be able to confidently start and monitor mailbox data imports. With this powerful tool, you'll be ready to handle any migration challenges smoothly, ensuring seamless transitions and effective mailbox management practices.