How to Reserve a Room in Outlook


Meetings are a crucial part of communication and collaboration inside a company, but, sometimes, setting up a new meeting is not as easy as we would like it to be.
Resources are finite, and finding available rooms is not always possible. To facilitate and accelerate the tasks of a meeting organizer, Microsoft Office 365 has integrated new features to set up appointment bookings easily.
Over 1 million companies use Office 365 around the globe, and today, we’ll learn how to reserve a room in Outlook in just 5 steps.
What is the Room Finder Feature in Outlook?
In order to book conference rooms in Outlook, you need to use the Room Finder Feature within Microsoft Exchange or Microsoft 365.
The Room Finder is a feature that shows you the availability, calendars, and filters of a conference room. Each room has its own calendar, and features such as the Room Finder display relevant room information before booking them.
You can use the Room Finder through Outlook Calendar. Users can also access other features, such as adding a meeting room display to Office 365, for example, to enhance their Microsoft 365 experience.
Meeting Request Types in Outlook
Conference rooms in the Room Finder are created, managed, and moderated by a Resource Manager.
Exchange or 365 Administrators determine the conditions, parameters, and types of the multiple rooms in an organization. During this setup, there are two ways to handle reservation requests by Resource Managers:
- Auto-Accept: when someone reserves a room in Outlook, the reservation request will be automatically accepted based on availability - everyone is free to book conference rooms provided that they are available and suitable.
- Moderated: whenever a person wishes to book a room, the request must be approved by the resource manager first.
That’s why checking meeting room availability in Outlook is a smart idea before sending a meeting invitation to other users.
In general, only “important” meeting rooms operate under the “Moderated” request model. Nonetheless, note that this is an important factor that you should have in mind before booking a meeting room.
How to Reserve a Room in Outlook
To reserve a meeting room in Outlook, you need to start a new event and modify the parameters on the Room Finder window based on your needs. Follow these quick five steps to complete the process.
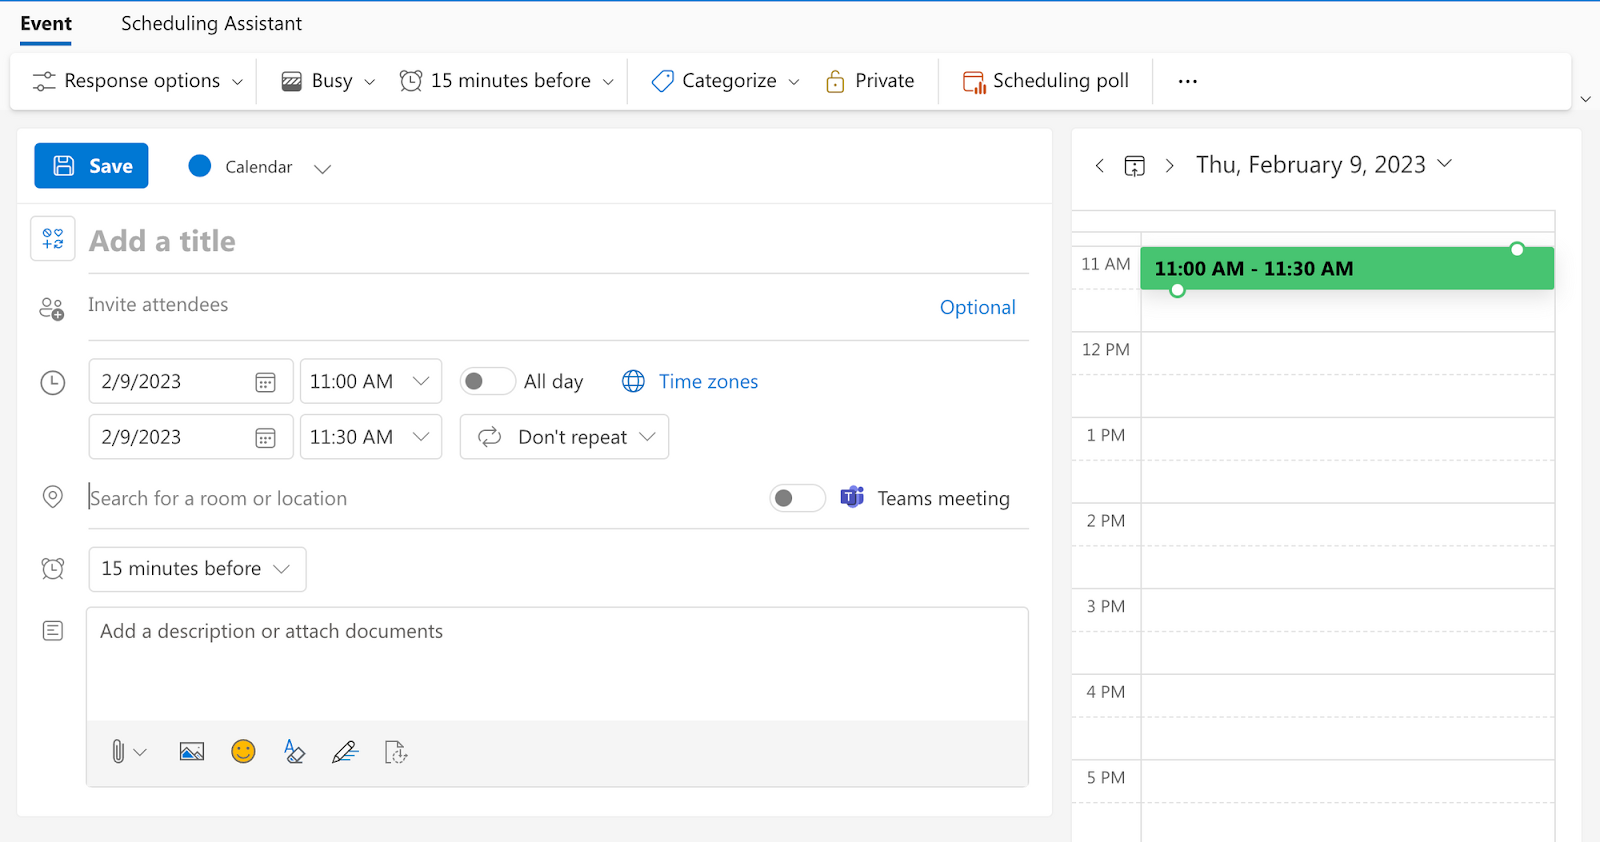
Step 1: Open Outlook Calendar and Click “New Event”
Firstly, open Outlook Calendar with your Microsoft Account.
After you open “Calendar,” click the “New Event” button that appears at the top left corner of the screen.
Step 2: Set Up Subject, Date, Time and Details of the Meeting
Here, set up the conditions and parameters of the new event. Add a title, start time, date, and more. Fill in the Description Box if necessary.
Also, add attendees, but don’t send meeting invitations just yet. Once you add the information about the new meeting, proceed with the following step.
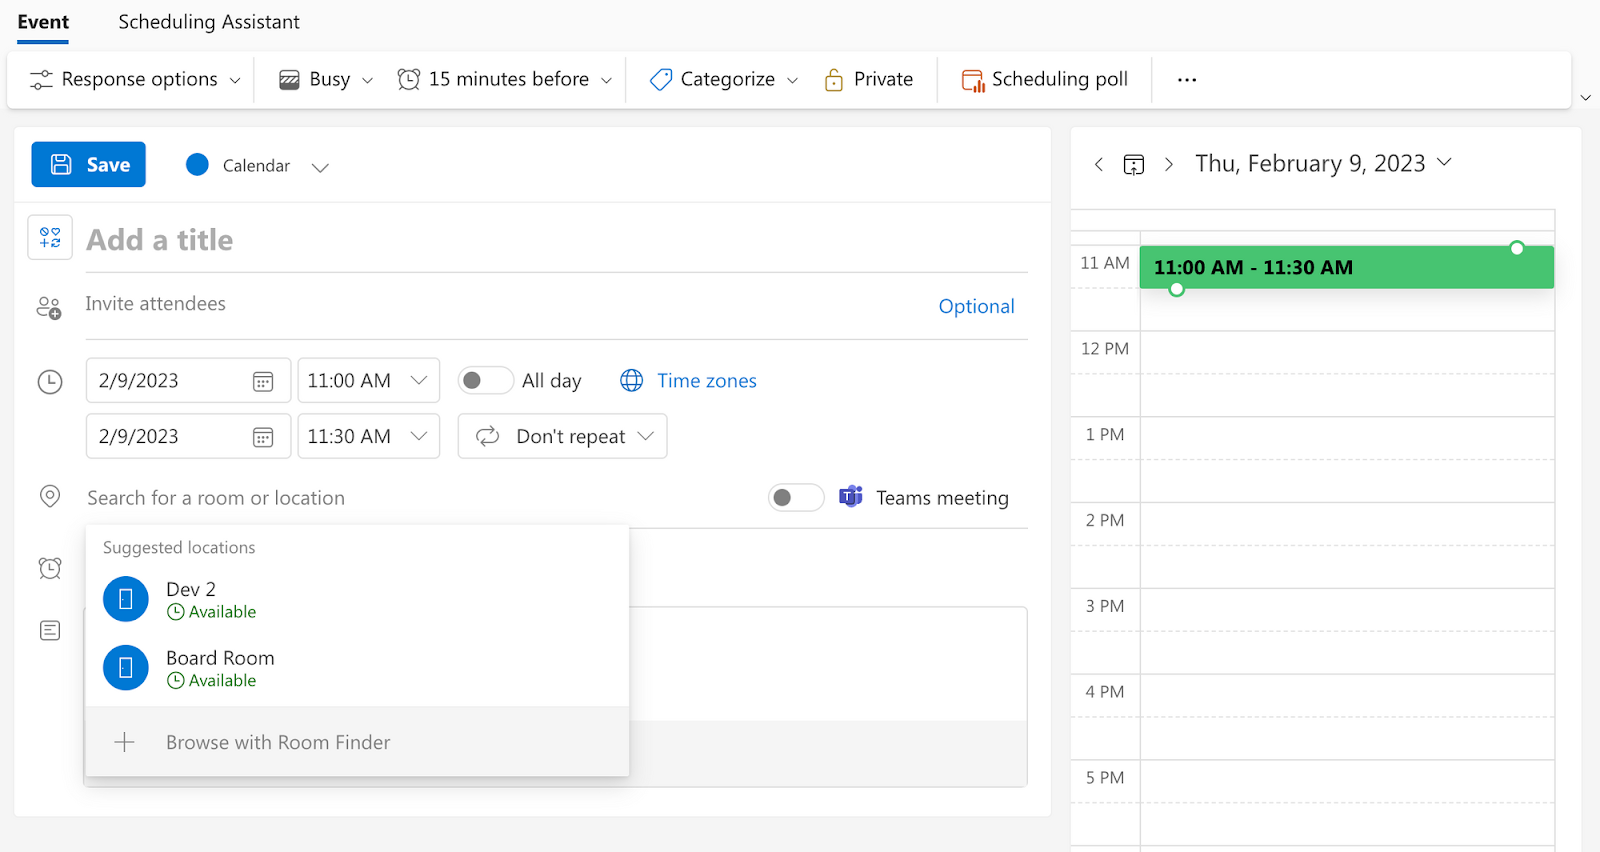
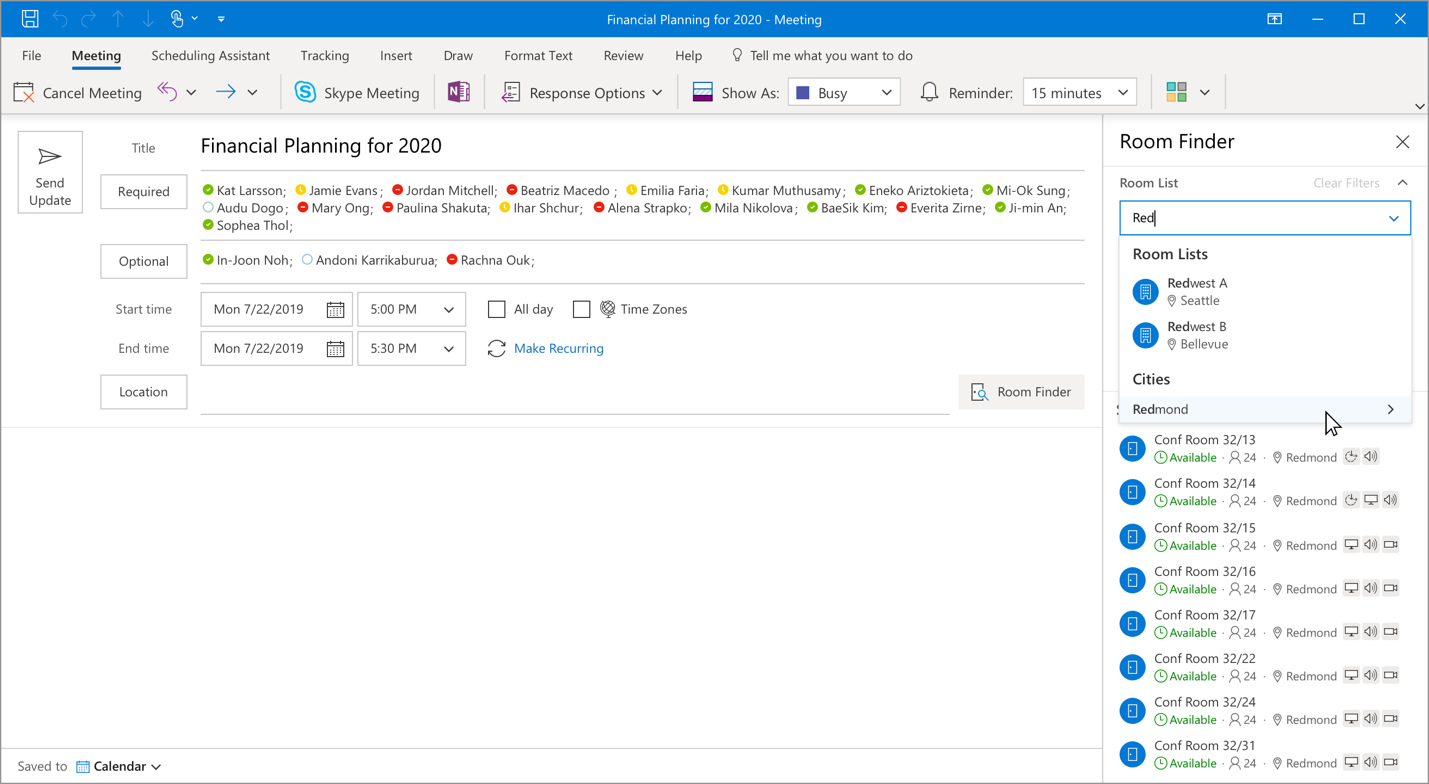
Step 3: Click “Room Finder” at the “Location” Field and Browse Through Multiple Rooms
Click on the “Search for a Room or Location” field. A drop-down menu will appear. Here, click “Browse with Room Finder.”
You will see some suggestions as well as information about busy rooms. Select Room Finder, and move on to the fourth step.
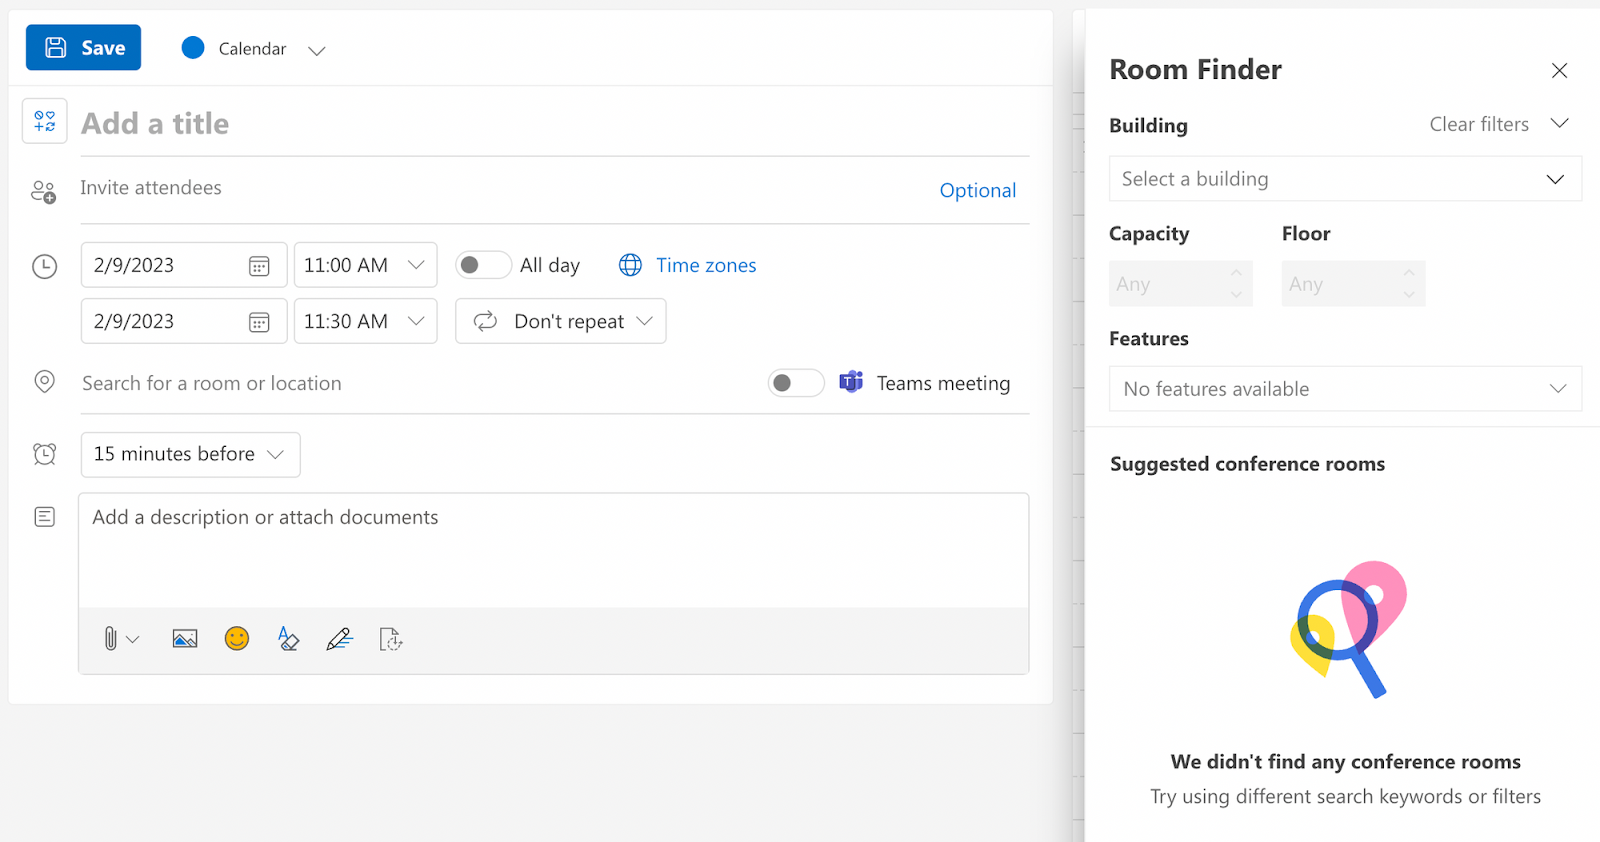
Step 4: Find the Perfect Available Room
The Room Finder will open, and here is where the magic happens. In order to find a meeting room that suits you, you need to tweak and modify the following parameters:
- Room Building: select the ideal organization building location for the meeting room.
- Room Capacity: if you have specific “capacity” requirements, add a number. Otherwise, mark it as “Any.”
- Floor: if you have specific “floor” requirements, then select it on the drop-down menu. If not, mark it as “Any.”
- Features: Room Features are specific to organizations, and are often based on accessibility and equipment features.
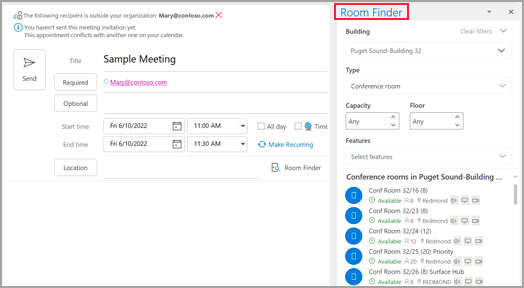
Step 5: Click “Send” to Invite the Work Group to the Reserved Room
Once you find a suitable room for the new meeting, you can send the invitation to the attendees.
Close the Room Finder, look for the Send button, and click on it. Attendees will receive an email in their inbox informing them that they have been invited to a new appointment.
How to Use the “AutoPick” Feature for Room Reservations in Outlook
If you are struggling to find a room that works for you through the Room Finder, then use the Scheduling Assistant to speed things up.
The Scheduling Assistant will find availability for both people and conference rooms. This is how you use it:
- Open the Room Finder: go to Outlook Calendar and create a new event.
- Select the Scheduling Assistant Button: click the Scheduling Assistant Button that appears on the ribbon.
- Click AutoPick and choose the appropriate criteria: select “AutoPick,” and let the assistant do its magic. You’ll be presented with available rooms that suit attendees’ work schedules. Select the one that suits you the most, and send the appointment invitations.
Can You Reserve Multiple Rooms in Outlook?
Yes, you can book multiple rooms in Outlook. Microsoft understands that some organizations have teams in multiple cities and time zones.
Therefore, it is possible to use the Room Finder feature in Outlook Calendar to book multiple rooms at once:
- Open the Room Finder: go to Outlook Calendar, create a new event, and open the Room Finder.
- Search Room by City: On the “Room List” box of the Finder, type in the name of the City of the rooms you want to book.
- Send meeting room invites: Select multiple rooms in different cities, buildings, and time zones, and send the meeting invitations.
Wrapping Up: How to Create a Meeting Room Reservation in Outlook
Booking meeting rooms in Outlook is effortless: Microsoft’s new features do all the hard work for us.
Remember that using the Room Finder is the way to go, and if you are struggling to find a suitable conference room, you can always ask the Scheduling Assistant for help.