How to Use Enable-MailPublicFolder in Powershell

The Enable-MailPublicFolder cmdlet is a powerful feature in Exchange PowerShell that lets you unlock the full potential of public folders by giving them an email address.
This simplifies centralizing communication for teams, projects, or departments, as emails sent to the folder are instantly accessible to everyone with access.
In this guide, we’ll walk you through the process step by step, using real-world examples to help you set up and manage your mail-enabled public folders effectively.
What is the Enable-MailPublicFolder PowerShell Cmdlet?
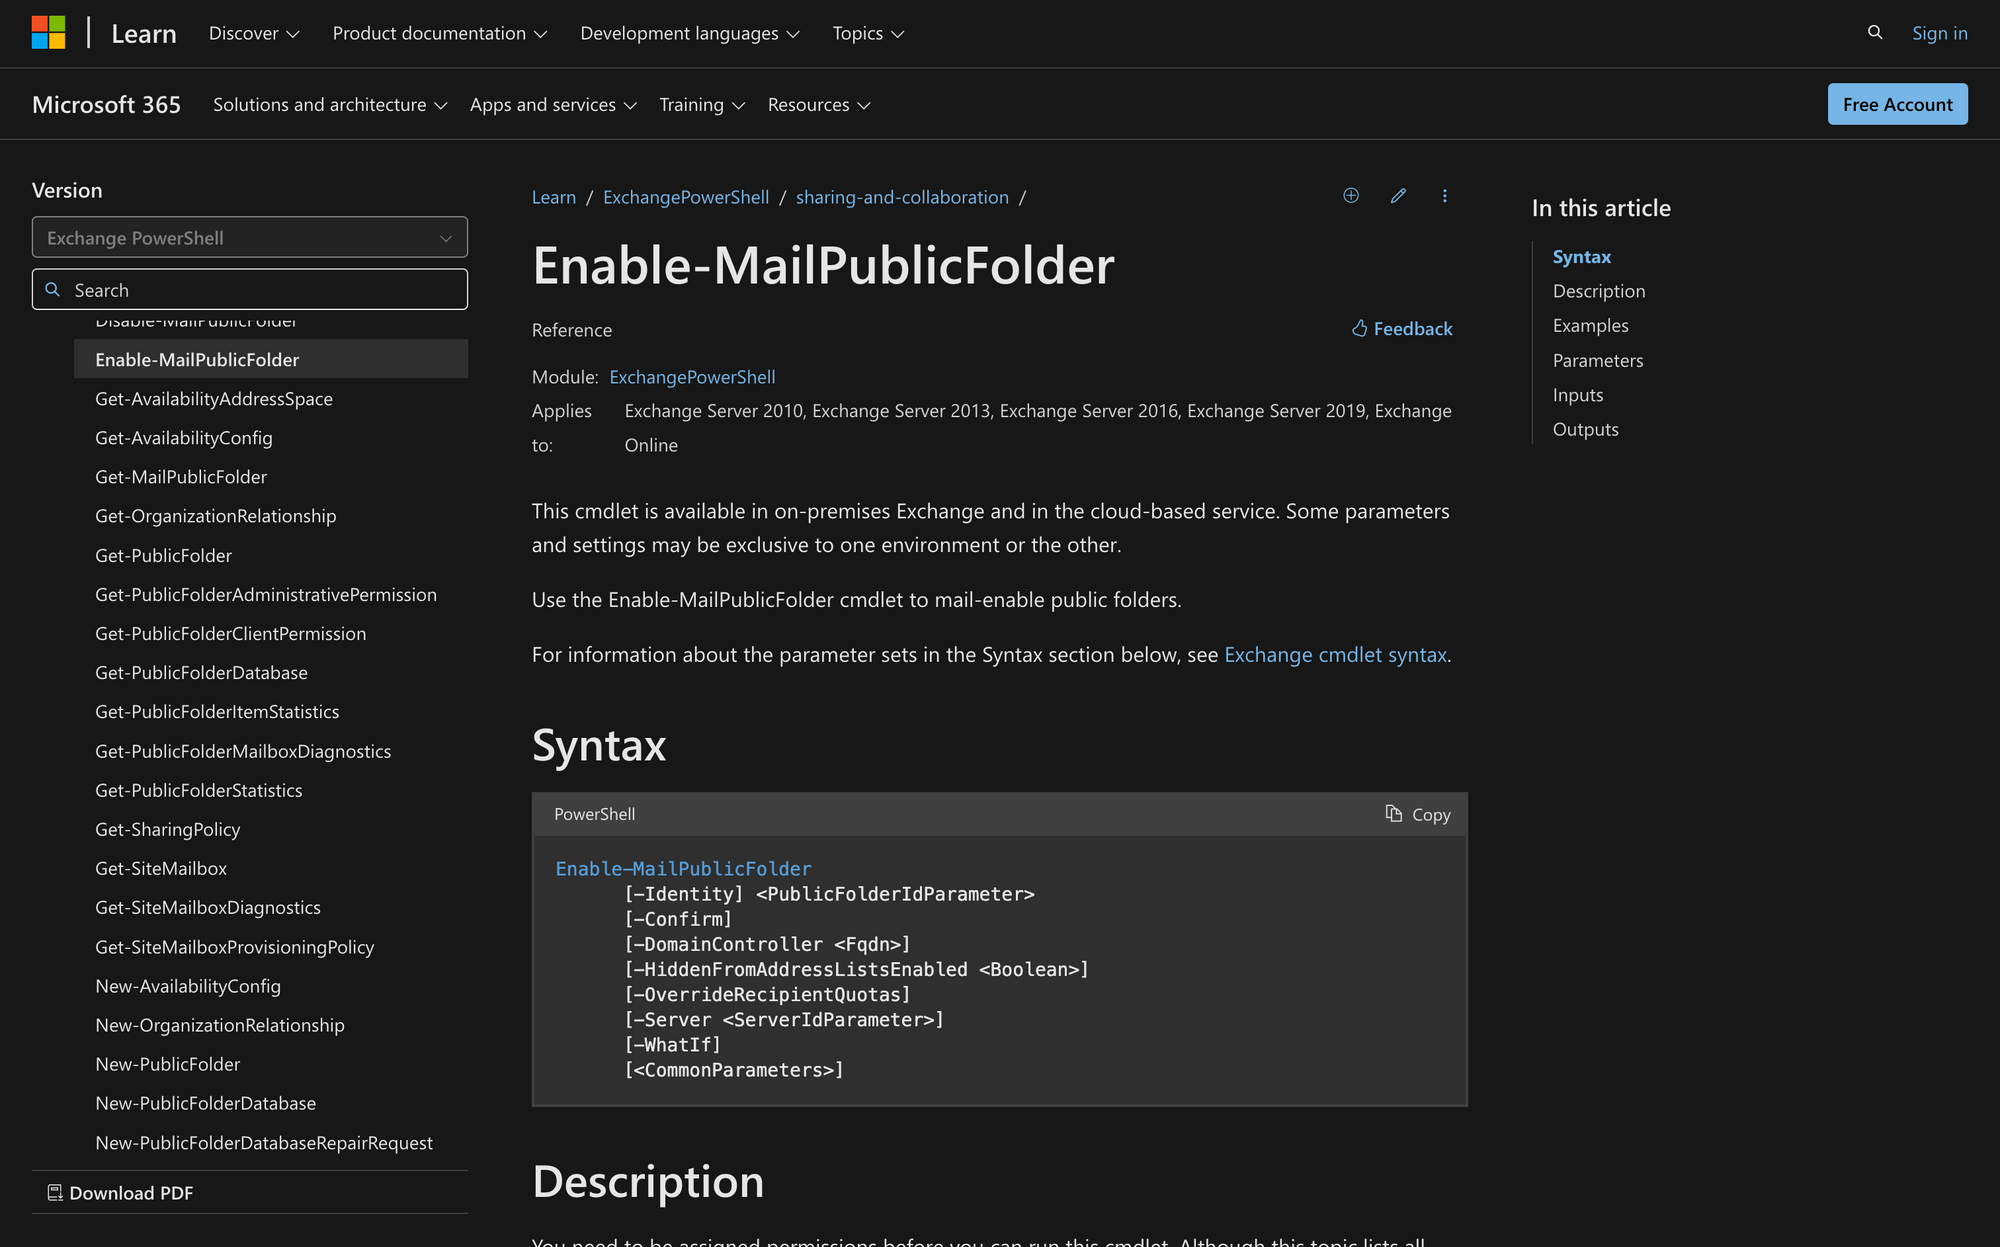
The Enable-MailPublicFolder cmdlet in ExchangePowerShell is a command used to mail-enable public folders in Microsoft Exchange environments, both on-premises and online.
Once mail-enabled, these folders can receive emails directly and function as shared mailboxes for collaboration.
This cmdlet is essential for organizations that rely on public folders to centralize communication and information sharing across teams, providing an efficient way to integrate email functionality with public folder resources.
Here’s the syntax of Enable-MailPublicFolder and a quick explanation of each parameter:
- [-Identity]: Specifies the public folder to mail-enable, using its name or GUID.
- [-Confirm]: Prompts for confirmation before proceeding with the cmdlet’s actions.
- [-DomainController <Fqdn>]: Identifies the domain controller to use when reading from or writing to Active Directory (only for on-premises Exchange).
- [-HiddenFromAddressListsEnabled <Boolean>]: Determines whether the public folder is hidden from address lists, with $true for hidden and $false for visible.
- [-OverrideRecipientQuotas]: Available in Exchange Online, allowing you to override recipient quota settings for the public folder.
- [-Server <ServerIdParameter>]: Specifies the Exchange server to run the command on (only for Exchange Server 2010).
- [-WhatIf]: Simulates the command’s actions without making actual changes, allowing you to preview the outcome.
- [<CommonParameters>]: Standard parameters that apply to all cmdlets, such as -Verbose or -Debug, providing additional control over cmdlet behavior.
3 Use Cases for The Enable-MailPublicFolder Command in PowerShell
Let’s take a look at 3 practical uses for the Enable-MailPublicFolder cmdlet:
- Enable Team Collaboration: By mail-enabling a public folder, you allow teams to receive and organize emails in a centralized location. This is especially useful for departments like Marketing or HR, where shared access to incoming communications is critical.
- Streamline Email Distribution: Public folders that are mail-enabled can act as distribution points for emails. For example, you can set up a public folder for client inquiries or project updates, making it easy for team members to stay informed without cluttering individual inboxes.
- Improve Archiving and Record-Keeping: Mail-enabled public folders are great for archiving important communications. For instance, you can configure a public folder to receive automated reports or notifications, ensuring all critical information is stored in one accessible place.
Prerequisites to Run Enable-MailPublicFolder in PowerShell
To run this command in PowerShell, you first need to comply with the following prerequisites:
- Permissions: Ensure you have the necessary permissions assigned in Exchange to mail-enable public folders. Refer to your organization's role-based access control (RBAC) settings to confirm access.
- Public Folder Path or GUID: You need the exact path or GUID of the public folder you want to mail-enable. Use the format TopLevelPublicFolder\PublicFolder for paths.
- Active Directory Access (On-Premises): For on-premises Exchange, you need access to a functioning Active Directory and can specify a domain controller with the -DomainController parameter.
- Quotas (Exchange Online): Be aware that the -OverrideRecipientQuotas parameter is reserved for internal Microsoft use in Exchange Online.
How to Use the Enable-MailPublicFolder Cmdlet in Exchange PowerShell
Now, let’s check out 4 quick steps to use Enable-MailPublicFolder in PowerShell!
Step 1: Connect to Exchange PowerShell
The first step is establishing a connection to your Exchange environment through PowerShell. To do this, simply execute the following command:
Replace admin@yourdomain.com with the username of your Exchange Online administrator account. When prompted, enter the account password. Once you do this, you can proceed to the following step.
Step 2: Verify the Public Folder Exists
Before mail-enabling a public folder, ensure the folder named Meeting Room 365 exists in your public folder hierarchy.
Although this is not always required, we recommend doing it to prevent any possible error messages. Run the Get-MailPublicFolder command like this:
This command searches the public folder tree for a folder with the exact name and path you specify. If the folder exists, details about the folder, such as its path and creation date, will be displayed.
Once you confirm the information, you can proceed to execute the cmdlet.
Step 3: Mail-Enable the Public Folder with Enable-MailPublicFolder
With the public folder in place, you can proceed to mail-enable it using the Enable-MailPublicFolder cmdlet. This step transforms the folder into a mail-enabled object, allowing it to receive emails like this:
In this command, the -Identity parameter specifies the folder by its path, which in this case is \Meeting Room 365. After executing this command, the folder will be assigned a default email address, which you can customize in the next step.
Step 4: Confirm Configuration and Test Functionality
Once the folder is mail-enabled and assigned the correct email address, the final step is to confirm its configuration and test its functionality.
Run the following command to view the folder’s mail-enabled settings:
Look for the PrimarySmtpAddress property in the output. If it matches the email address assigned, the folder is ready to receive emails.
This way, you’ll successfully mail-enable the Meeting Room 365 public folder, assign it a new email address, and verify its functionality.
By mail-enabling public folders, you can centralize email exchanges, making collaboration more efficient and accessible for all team members. Whether working with Exchange Server or Exchange Online, the process is straightforward and manageable with the right tools.
With this setup in place, your team can work smarter and stay connected.